'%20stroke-width='70'%20stroke-linecap='round'%3e%3cpath%20d='M672%2035V139M672%201205V1309M35%20672H139M1205%20672H1309M938.5%20210.4%20990.5%20120.3M1133.6%20405.5%201223.7%20353.5M1133.6%20938.5%201223.7%20990.5M938.5%201133.6%20990.5%201223.7M405.5%201133.6%20353.5%201223.7M210.4%20938.5%20120.3%20990.5'/%3e%3cpath%20d='M601%20491.5H472.5V278.5H672A393.5%20393.5%200%201%201%20278.5%20672V278.5'/%3e%3cpath%20d='M472.5%20625V672A197.5%20197.5%200%200%200%20867.5%20672'/%3e%3c/g%3e%3ccircle%20cx='782.5'%20cy='491.5'%20r='35'%20fill='url(%23dt-sun)'/%3e%3c/svg%3e)
How it works
Step-by-step guides, from setting up to managing bookings.
Guide 1
Set up your organization and first location
- Sign in with Microsoft, Google or Apple, then select Create organization.
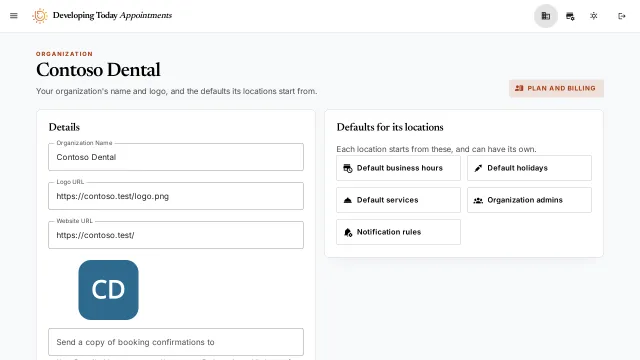
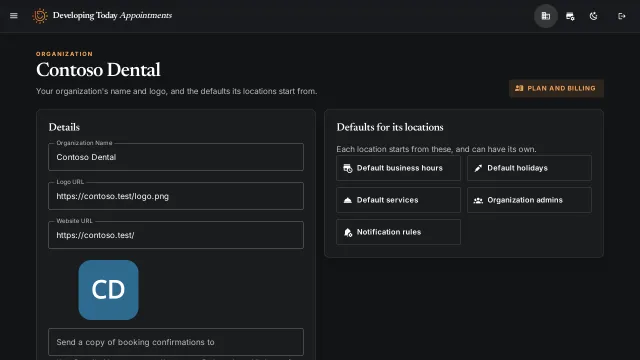
- Enter the Organization Name, and your logo's web address in Logo URL if you have one. Select Save.
- Select Add location. Enter the Location Display Name, the Single Line Address and the Timezone, then select Save.
- Tick Published when the location is ready to take bookings.
Guide 2
Add services, business hours and holidays
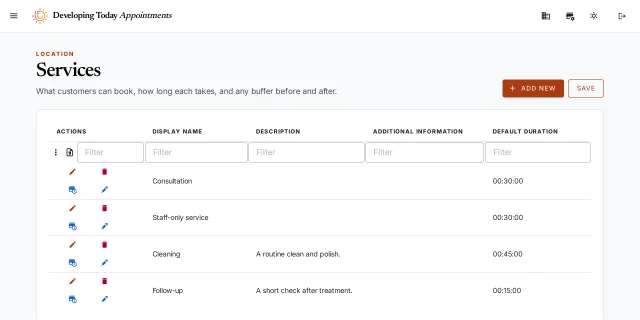
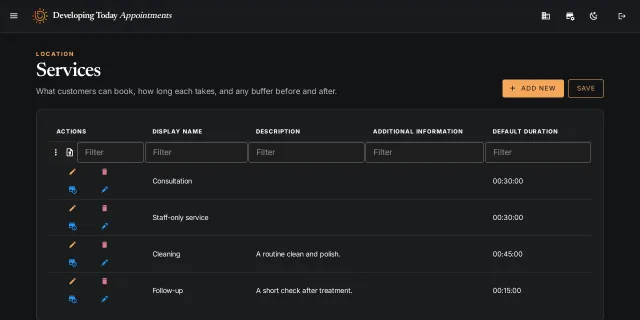
- On the location screen, select Services, then Add New. Enter a Display Name and a Default Duration, plus a Pre-appointment Buffer or Post-appointment Buffer if you need time around it.
- Maximum Concurrent Appointments for this Service sets how many people can book the same time. Tick Is Hidden From Customers to take a service off the booking page. Select Save in the dialog, then Save on the page.
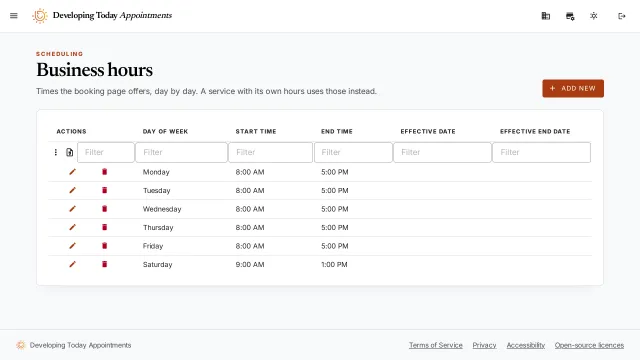
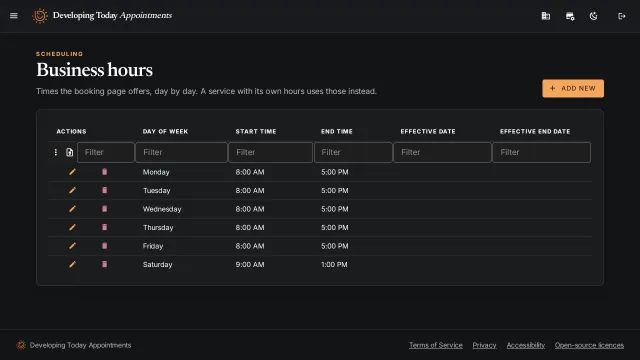
- Select Business hours, then Add New for each day. Choose the Day of Week, Start Time and End Time, and select Save.
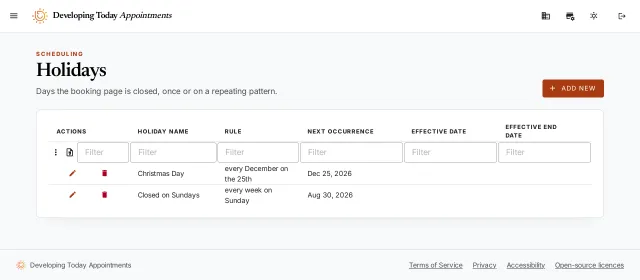
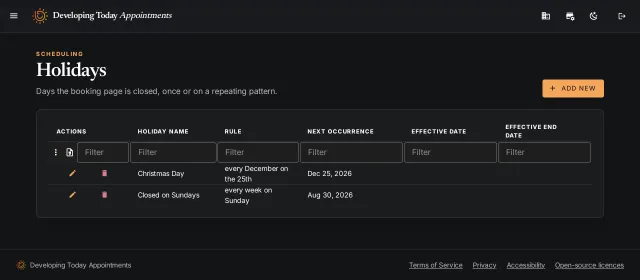
- Select Holidays, then Add New. Name the holiday, set when it repeats, such as every Sunday, and select Save.
Guide 3
Add staff
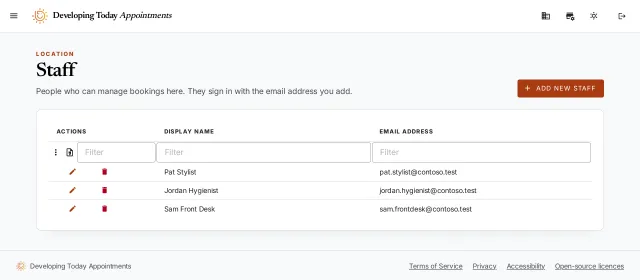
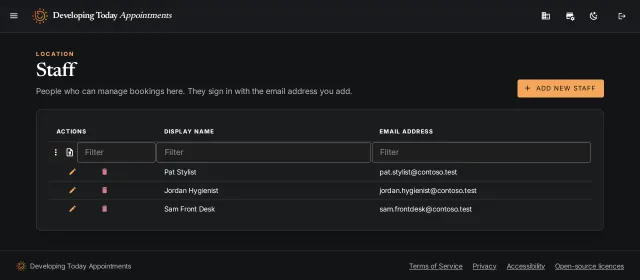
- To give someone access to one location, open it and select Staff, then Add New Staff. Enter their Display Name and Email Address and select Save.
- To give someone access to every location, select Organization admins on the organization screen and add them there.
- They sign in with that email address, using Microsoft, Google or Apple.
Guide 4
Share your booking link
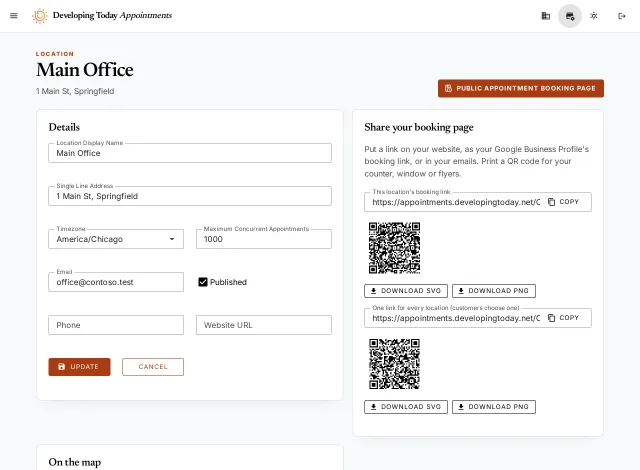
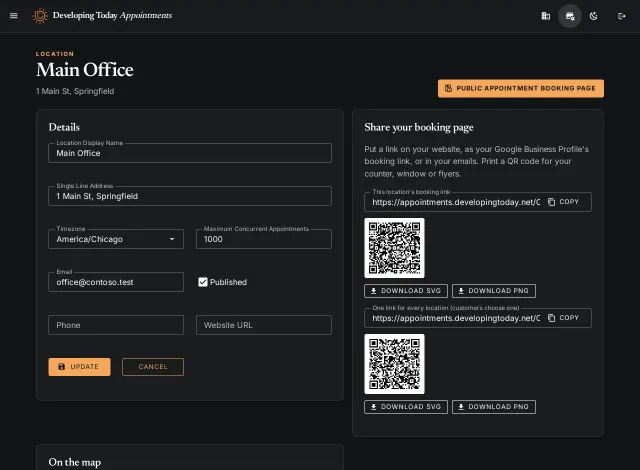
- On the location screen, under Share your booking page, select Copy beside This location's booking link.
- Paste it on your website, as the booking link in your Google Business Profile, or in your emails.
- For one link covering every location, copy One link for every location. Customers choose a published location first.
- Each link has a QR code for your counter, window or flyers. Select Download SVG or Download PNG to print it.
Guide 5
What your customers see
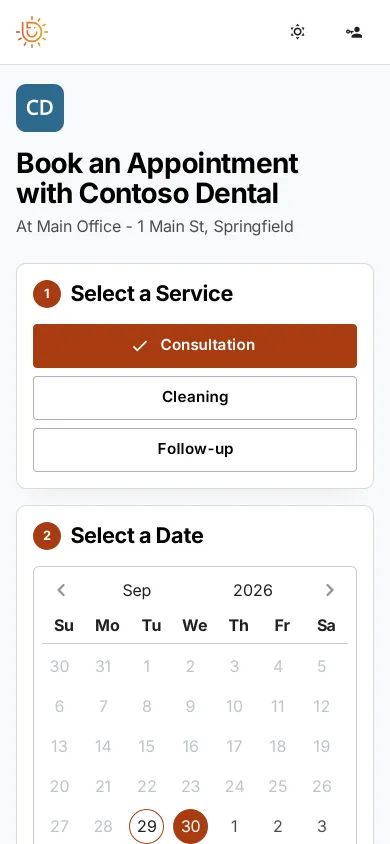
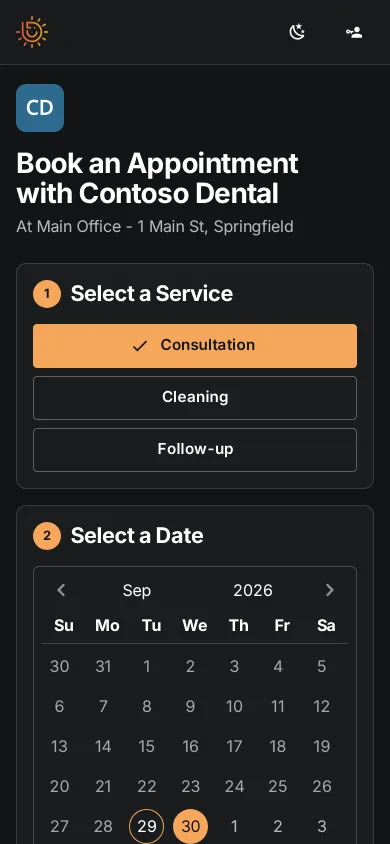
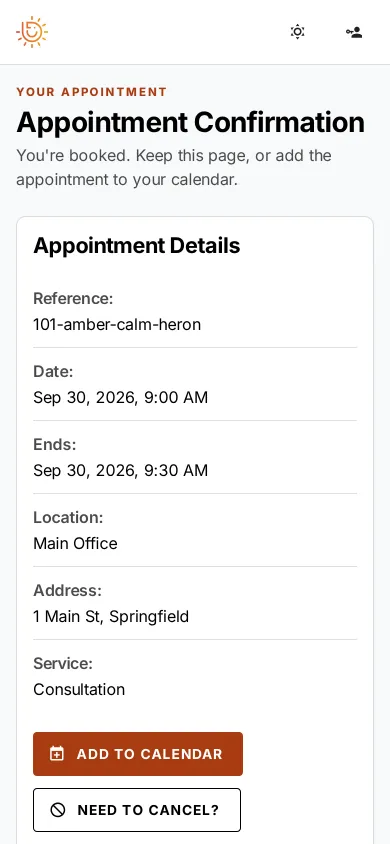
- They choose a service, a date and a time, enter their name and email address, and select Book Appointment.
- They see a confirmation page and are emailed a confirmation with the appointment as a calendar file.
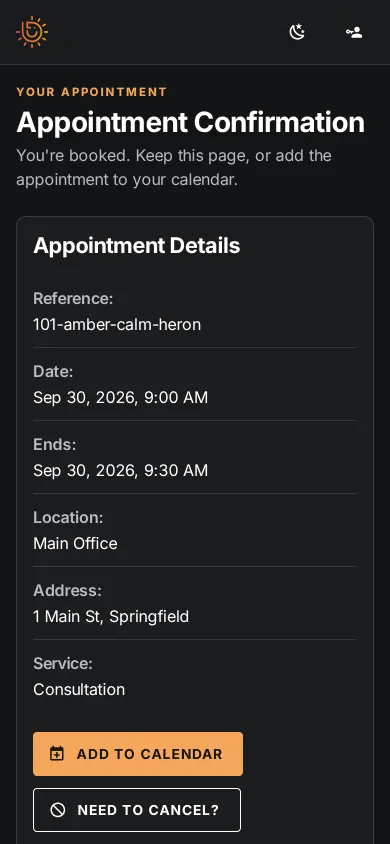
- The confirmation page has Add to calendar. The page and the email also show a QR code that adds the appointment to a phone's calendar, scanned from a computer screen or a printout.
- Need to cancel? on the confirmation page asks for an optional reason, and the customer is emailed a cancellation.
Guide 6
Manage bookings
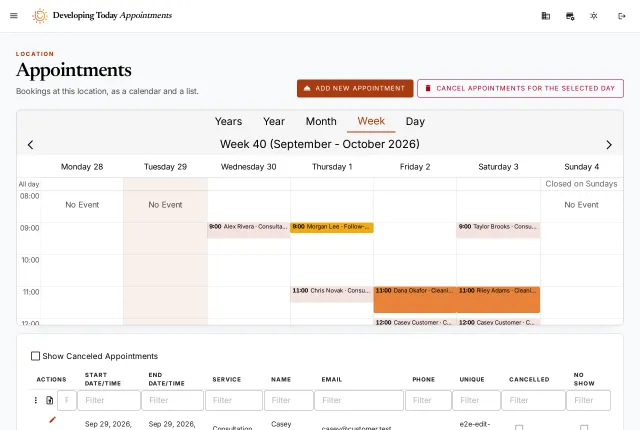
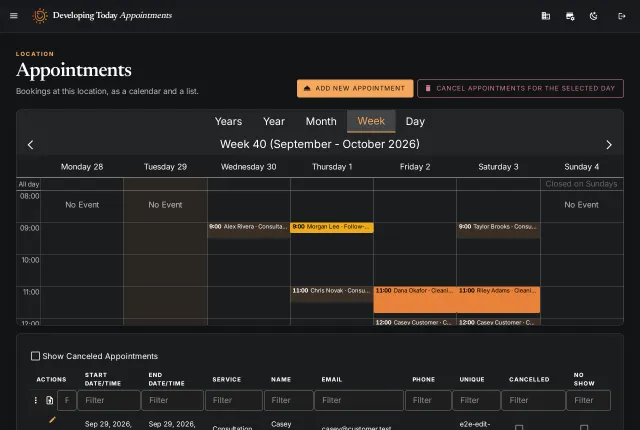
- Select Appointments on your home screen or the location screen. The calendar opens on this week, with Day, Month and Year views at the top.
- Point at or tap a booking to see its details. The list below has the same bookings, with a filter on each column and a CSV download.
- Select the pencil beside a booking to change its service, time or customer details, or to mark a no-show. If the time or service changes, the customer is emailed.
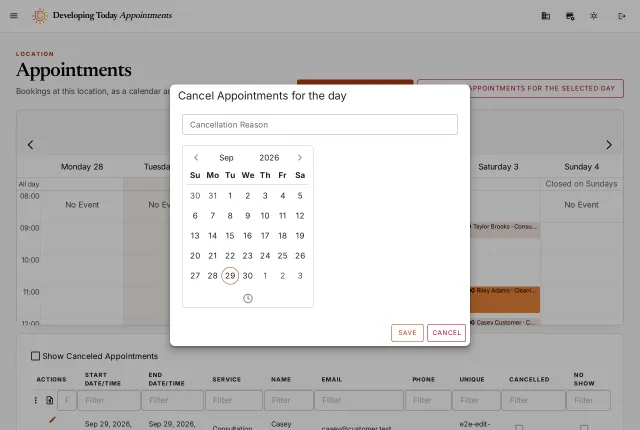
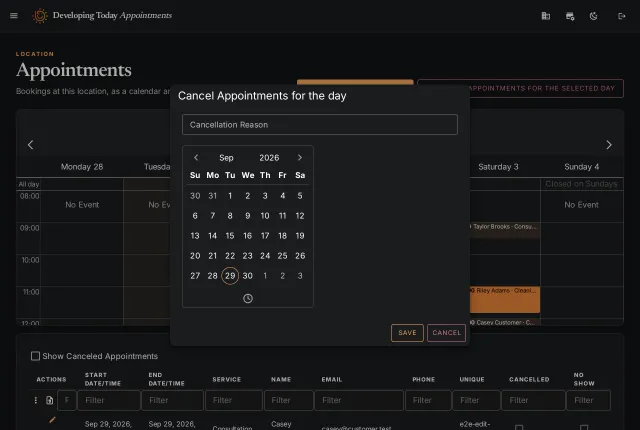
- Select the delete icon to cancel a booking, and the customer is emailed. To cancel a whole day, select Cancel Appointments for the selected day, pick the date and select Save. Each customer is emailed.
- Select Add New Appointment to book on a customer's behalf.
Guide 7
Set up reminders
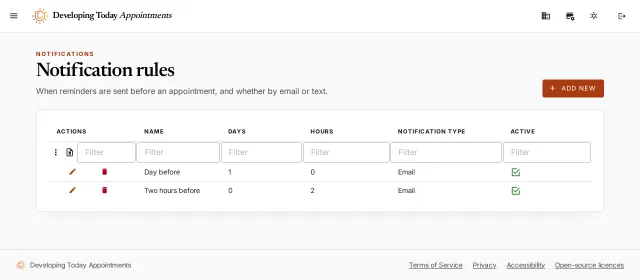
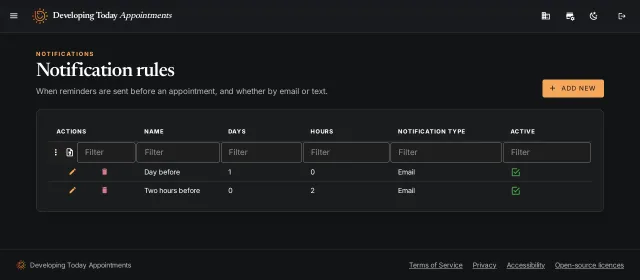
- On the organization screen, select Notification rules, then Add New.
- Enter a Rule Name, choose the Notification Type (Email, Text (SMS) or Postcard), and set how many Days, Hours and Minutes before the appointment it goes. Tick Active and select Save.
- Texts need the text reminders add-on (Standard plan and above) and postcards the postcard add-on (Professional and above). Add them under Plan and billing.
- Customers choose their reminders when they book. A postcard needs their address.
- Customers who ask get a 4x6 postcard with your name and logo, the appointment time, and a link and QR code to cancel. Set postcard reminders at least 7 days ahead.
Guide 8
Plans and billing
- Plans are priced by bookings a month. Every appointment booked that month counts, except cancelled ones.
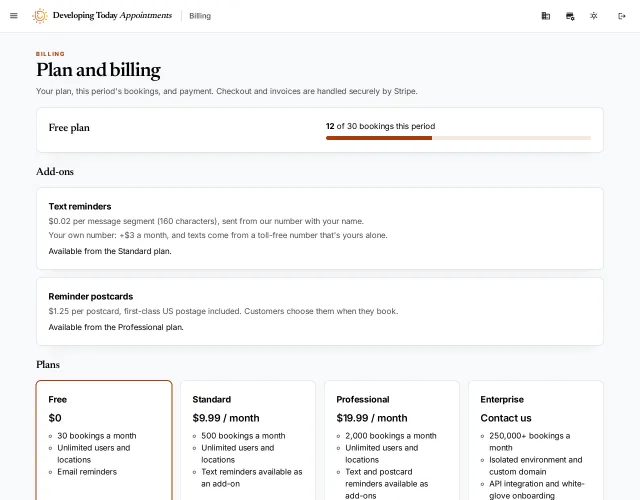
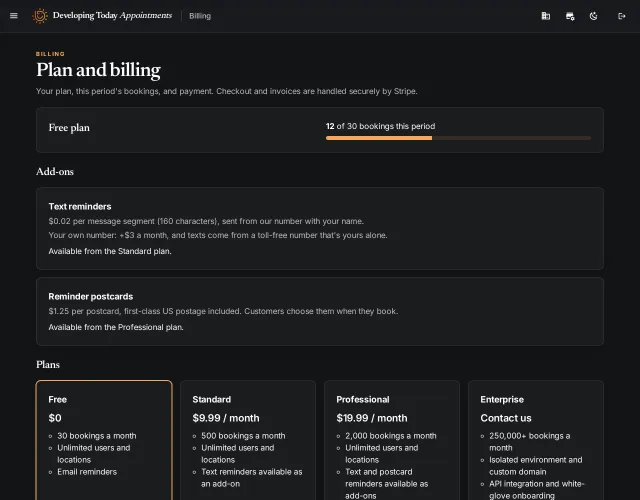
- On the organization screen, select Plan and billing. It shows your plan and this period's bookings.
- Under Plans, select Subscribe and pay through Stripe. Later, Switch changes plan and Manage billing has your invoices and card.
- The Free plan includes 30 bookings a month. If you go over your plan, bookings keep working for a short time and we email you.